Two Chick-Fil-A Sauces

Tuesday, February 22, 2011

The boys and I were invited to a park picnic with our neighbor friends the other day and we got to talking about Chick-fil-A's sauces. All of their sauces are quite amazing but I prefer the Honey Roasted BBQ Sauce and the Chick-fil-A Sauce. Which, incidentally, were supposed to be the same sauce. (Test group customers could tell the distinct difference between the first, publicly-launched Honey Roasted BBQ and wanted the original recipe created by Hugh Fleming which was launched second to the public and named Chick-fil-A Sauce.) Their sauces are delicious if you haven't tried them; very tangy and smoky ... mmm-mm. Jenn commented that she uses her saved packets as dressing for sandwiches. Genius idea, right? Of course it made me think about their dressings all day and I couldn't wait to use my extra packets on sandwiches, salads, quesadillas, chicken, tacos, veggies, burgers... the possibilities are endless.  Then it occurred to me that most likely there are copy cat recipes online for their sauces. And sure enough I found a pretty darn good substitute for their Honey Roasted BBQ Sauce that I have tried and loved. Plus, I found a super easy recipe for the Chick-Fil-A Sauce, which I have yet to try out, but I will share anyways because it only has two ingredients. Now I don't have to wait for my next trip to Chick-fil-A or skimp on using my little 0.4 oz packets.

Honey Roasted BBQ Sauce

Serves: 1 cup
Start-to-Finish: 25 minutes
Recipe By: Todd Wilbur

Ingredients:

1/2 cup vegetable oil
1/4 cup honey
1 TBSP Grey Poupon Dijon mustard (you can substitute any Dijon mustard but to get the closest to Chick-fil-A sauce it apparently needs to be the Grey Poupon kind, I used one with horseradish sauce in it because I liked the zippiness and it is what I had in my fridge. Let's face it, if I have to go out to buy new mustard I might as well stop by Chick-fil-A and get some packets of sauce instead.)
1 tsp ketchup
1 tsp sugar
1/4 tsp paprika
1/4 tsp salt
1/8 tsp black pepper
1/8 tsp garlic powder
1/8 tsp onion powder
2 1/2 TBSP white vinegar
1/2 tsp concentrated hickory liquid smoke flavoring (I substituted with 1 tsp of plain ole BBQ sauce because, seriously, who has liquid smoke flavoring just laying around?)
1/4 tsp lemon juice
1 egg yolk
1 tsp water
1 TBSP cornstarch

Directions:

1. Combine oil, honey, mustard, ketchup, sugar, paprika, salt, pepper, garlic powder, and onion powder in a small saucepan over low heat until boiling.
2. Stir until it becomes jelly-like and well incorporate.
3. Remove the pan from the heat and let it cool, uncovered, for 10 minutes.
4. While the sauce is cooling, whisk egg yolk with water in a small bowl for about 2 minutes or until color is pale yellow.
5. Then, whisk in cornstarch until dissolved.
6. Once sauce has cooled, add vinegar, smoke flavoring (or BBQ sauce), and lemon juice.
7. Drizzle in the egg yolk mixture in a steady stream while rapidly whisking. (This will create a thick, creamy emulsion that will prevent the oil from separating.)
8. Cover and refrigerate until serving.

Chick-fil-A Sauce

Serves: 1 cup
Start-to-Finish: 5 minutes
Recipe By: www.food.com

Ingredients:

1 cup Ken's honey mustard dressing (no brand substitutions or lite versions here, it makes a difference)
2 tsp smoky barbecue sauce

Directions:

1. Combine ingredients.
2. Cover and refrigerate until serving.

cranberry mustard tenderloin

Friday, February 18, 2011

This recipe is going to be a great one to make come autumn time. The combination of cranberries, mustard, and pork give it a distinctive Fall feeling (and makes your house smell divine). I have made this recipe with both pork and chicken and it always comes out great; must be the sauce. Be sure to boil the sauce down long enough to thicken it and you can't go wrong. I serve this dish over egg noodles.

Serves: 4
Start-to-Finish: 4 hours and 30 minutes (slow cooker recipe=4 hours of cooking+30 minutes of prep)
Recipe By: Taste of Home Magazine


Ingredients

1 (1-lb) boneless pork loin roast (I have also made this with chicken breast and it is equally as delicious)
1 (14-oz) can whole-berry cranberry sauce
1/4 cup Dijon mustard
3 TBSP brown sugar
3 TBSP lemon juice
1 TBSP cornstarch
1/4 cup cold water

Directions

1. Place pork loin roast in a slow cooker. (I am using a slow-cooker liner in the pictures below.)
2. Combine the cranberry sauce, mustard, brown sugar and lemon juice; pour over roast.
3. Cover and cook on low for 4 to 4 1/2 hours or until a meat thermometer reads 160°F.
4. Remove roast and keep warm.
5. Strain cooking juices into a 2-cup measuring cup; add enough water to measure 2 cups. (Because of all the seeds in the cranberries, straining the sauce is a little time consuming.)
6. In a small saucepan, combine cornstarch and cold water until smooth.
7. Stir in strained cooking juices.
8. Bring to a boil; cook and stir until thickened. (You really want this to thicken up so it clings to the pork instead of running over it.)
9. Serve pork and sauce over egg noodles.

Tomatillo Chicken

Wednesday, February 16, 2011

This was my first recipe using tomatillos, to be frank, it was not what I expected. I thought tomatillos would be more like green tomatoes... they are not. And maybe it was just the ones I bought so I can't speak for all tomatillos. But they were sticky on the outside and smelly on the inside and textually they were much more fruit-like than the tomato. I thought the strange smell would be in the food after I cooked it. Gratefully, it wasn't there. It came out mild and flavorful and very delicious with a tangy-ness to it I really liked. I would definitely make this recipe again but I would do so with much different expectations and much more confidence that I am not making and smelly, sticky mess in my kitchen for nothing; because I know how good the end results are.

Serves: 4 servings
Start-to-Finish: 30 minutes
Recipe By: Audrey Kinne

Ingredients:

4 boneless, skinless chicken breast halves
4 slices provolone cheese
1 medium onion, chopped
1 TBSP olive oil
6 tomatillos, husks removed, chopped (time process is time consuming and sticky)
1/4 cup lime juice
6 pickled jalapeno slices, chopped
1 garlic clove, minced
1/4 cup minced fresh cilantro
1 tsp ground cumin
1/2 tsp salt
1/4 tsp pepper
Hot cooked rice

Directions:

1. Prepare all your vegetables and ingredients by washing, cutting, and measuring. (I recommend this as the first step because the recipe moves fast once you start cooking and the prep work takes some time.)
2. Set your oven to broil and adjust your oven racks so the top rack is 8-10 inches from the heat.
3. Line a baking sheet with foil and lightly spray with cooking spray.
4. Broil the chicken on the baking sheet for 4 - 7 minutes on each side or until a meat thermometer reads 170°F.
5. Top each chicken breast with a slice of cheese and cook 1 minute more.
6.  Meanwhile, in a large skillet, saute onion in olive oil until tender.
7.  Add tomatillos, lime juice, jalapenos, and garlic and cook 3 minutes longer.
8.  Stir in cilantro, cumin, salt, and pepper.
9. Serve tomatillo mixture and chicken with rice.

Homemade Butter

Saturday, February 12, 2011

This recipe was easy and produced fantastic results. I would recommend it to anyone to try (read my important info at the bottom of the post). I made this recipe because I had heavy whipping cream in my fridge leftover from holiday season desserts that was just going bad. It was a cost-effective, money-saving move on my part that also happened to be a learning experience. I have used my butter to bake with, fry with, grease a pan, and spread on toast. It tastes, looks, and smells, exactly like store bought items.

Makes: approx. 9 oz butter (just about two sticks) and approx. 2 cups buttermilk
Start-to-Finish: 25 minutes
Recipe by: Prepare Every Needful Thing

Ingredients:

1 quart heavy whipping cream

Directions:

Basically, when making butter you agitated, churn, or mix your cream until you can no longer do so because it has separated from the milks and turned into a solid.

1.  Pour whipping cream into a mixer
2.  Whip on 8 speed for 20 minutes. (You might want to stop every few minutes to scrape down the sides of your bowl. I did it 4 times during the process just to keep all the cream at the same stage.)
3.  While beating you will get to the soft-peak stage.
4.  Then the stiff-peak stage.
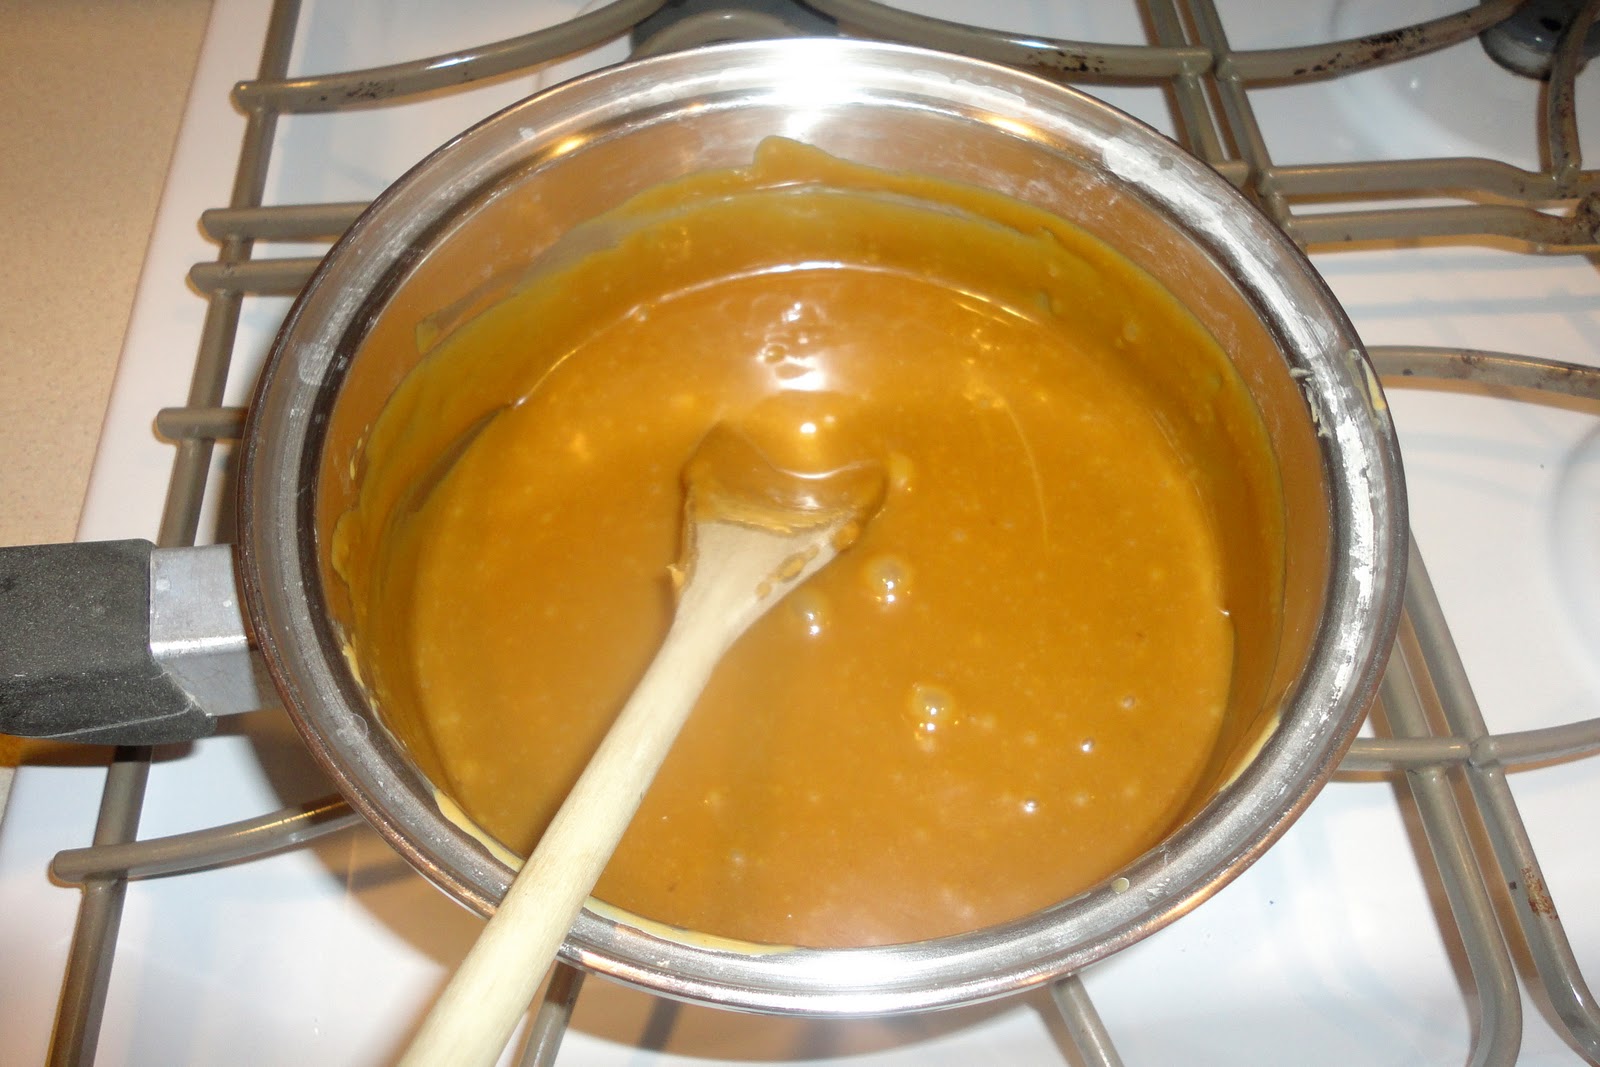
5.  Then the cream will start to turn from white to a pale yellow.
6.  You will start to see the cream turn grainy.
7.  Then it will begin to look wet on the top. (That is the liquid being squeezed out as the fats and proteins coagulate.)
8.  When it starts to look like bread crumbs turn your machine down a bit because it will start to spit liquid at you. (I turned mine down to 6.)
9.  The last step happens very quickly; you'll go from bread crumbs to a big chunk of butter in your whip attachment zipping around in a puddle of buttermilk. (It takes about 5 seconds so be alert.)
You are going to want to have everything set out where you need it before you start handling the butter because your hands are going to be covered in grease and you wont want to be riffling through your cupboards for a Tupperware container.
10. With clean hands, squeeze all of the butter solids to get any remaining buttermilk out. (When I first read this step of the instructions I imagined squeezing room temperature butter and it made no sense to me that it would work. But the consistency is like play dough so you will be able to wring out the liquids.)
11. You can put it in a container in the refrigerator at this point, but I've read that it can still have buttermilk in it and that can tend to make it go rancid, so many places suggested to wash it. I filled my mixed bowl with cold water (if you use warm you'll melt the butter) and then kneaded it a few times under the water. Pour off the water, and repeat until you feel like you've gotten most of the buttermilk out.
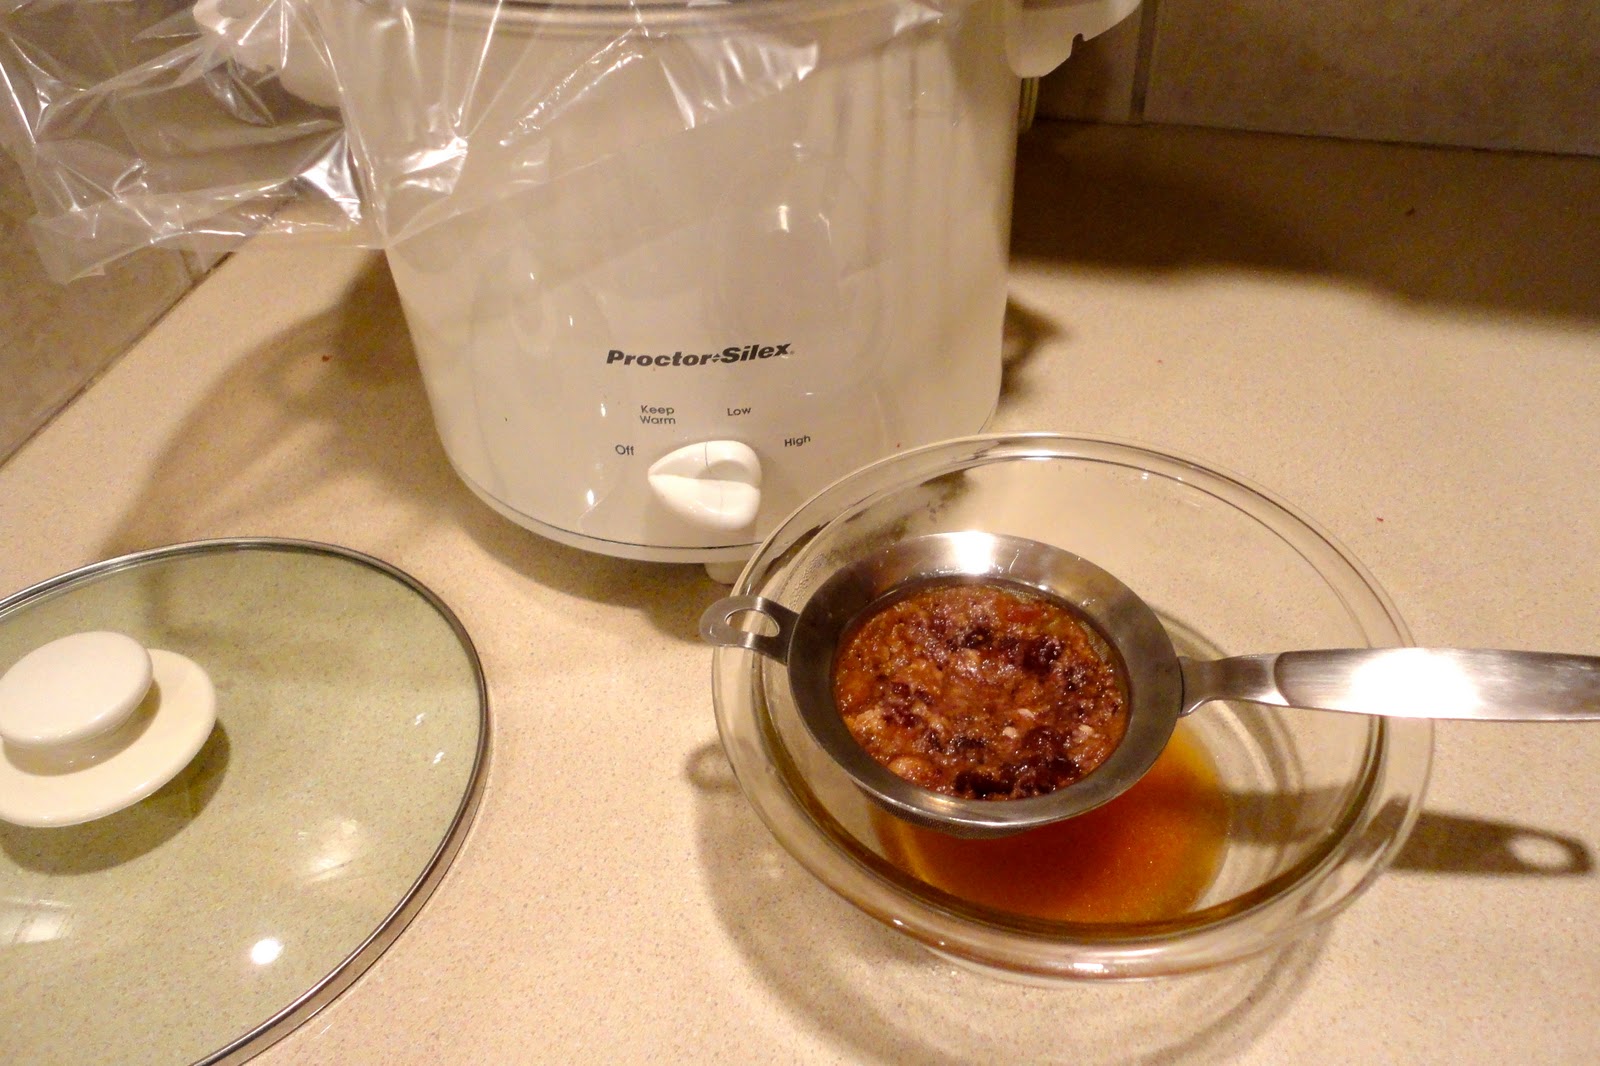
12. You can now either strain off the buttermilk and save it or you can just pour it down the drain. I choose to save mine and make buttermilk pancakes for breakfast. So worth it!

Important information you should know: This is not cost effective way to get your butter unless there is a great sale on heavy whipping cream or you have some leftover cream from another recipe you are trying to use up. I buy Land-o-Lakes butter, it has no artificial ingredients or preservatives so you aren't making the butter any healthier by making it yourself. Butter can be bought on sale and stored in the fridge or freezer for long periods of time without spoiling. Unopened in the refrigerator about 2 months, freezer about 1+ year. The homemade butter I made lasted about 2 weeks in my fridge before it started to go bad. It probably has something to do with the effectiveness, or lack thereof, at getting all the buttermilk out. Buttermilk last 7 days in the fridge. Many food storage suppliers offer a powdered butter product that can be reconstituted with water. Powdered butter is shelf stable for 5 years and costs approximately $20.00 for a #10 can. Canned butter is shelf stable for 15-20 years but it is more expensive at $6.00 per can and the can is the size of a tuna-fish can. Some people "can" their own butter but it is not a proven method because of the bacteria risks involved.

Granola Bars

Thursday, February 10, 2011


These are delicious and made from shelf stable ingredients. Plus, they are a great way to get your kids to eat wheat germ. Wheat germ is one of the most nutritional products available. It contains 23 nutrients and has more nutrients per ounce than any other vegetable or grain. Wheat germ is very high in protein. It contains around 28 percent protein and has more protein than can be found in most meat products. The human body needs protein in order to repair tissue damage and to help minerals and nutrients reach our cells. You can change up the nuts and dried fruit with anything you have on hand making these really versatile. My boys aren't a big fan of nuts or dried fruit and they ate these like they were cookies. These are a chewy granola bar not a crunchy one.


Serves: 18 bars
Start-to-Finish: 15 minutes
Recipe By: Amber Brunson

Ingredients:

2 1/2 cups rice krispies
2 cups rolled oats (can use quick cooking oats)
6 TBSP wheat germ
1/2 cup dried fruit (I did half dried apples and half dried cranberries)
1/2 cup chopped almonds (I did half sunflower seeds and half chopped almonds)
1/4 cup honey
1/4 cup dark Karo
4 TBSP brown sugar
2/3 cup peanut butter
2 tsp vanilla
1/2 cup chocolate chips (optional: if you choose to include these please note that they will melt down when you pour in the hot ingredients and will add a chocolate flavor but not solid chocolate chips in the bar)

Directions:

1. In a large bowl, mix together rice krispies, rolled oats, wheat germ, dried fruit, chopped almonds, and chocolate chips(optional).
2. Over medium heat mix honey, dark Karo, and brown sugar.
3. Bring to a boil, stirring constantly.
4. Remove from heat.
5. Add peanut butter and vanilla.
6. Pour over dry ingredients.
7. Press into a 9 x 13 pan.
8. Allow to cool, cut into bars.
9. Wrap individually in plastic wrap and store in an airtight container. (They will dry out quickly, 2 days, if they aren't airtight sealed. Individually wrapping makes them an easy grab-n-go option.)


Post Update:
These granola bars hold their shape pretty well and can be cut with cookie cutters into fun shapes for cute party snacks and holiday treats. This little brontosaurus made an appearance at a dinosaur-themed playgroup I hosted. They were a healthy and fun addition to lunch.